Custom Themes and Notifications
Graylog Enterprise empowers you to control your instance's color scheme and customize various visual elements of your environment. Administrators can modify the look and feel to align with company brand guidelines, add a custom header icon, and push special notifications to users.
This article details the available customization options and explains how to make these changes to the web interface.
Prerequisites
Before proceeding, ensure that the following prerequisites are met:
-
You must be a Graylog administrator to apply global custom themes.
Light and Dark Modes
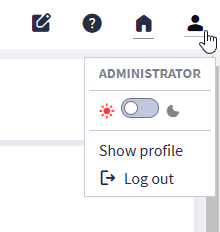
All users, not just administrators, can switch between using light mode or dark mode in the web interface. To switch your mode:
-
Select the User Menu in the top right.
-
Select your preferred mode from the toggle.
The light or dark mode selection is a per-user setting.
Customize Your Instance
To adjust themes globally for all users, navigate to Enterprise > Customization. The Customization page includes three sections:
-
Modify Global Theme: Change color for various interface elements.
-
Header Badge: Add a small identity badge to the header to distinguish between multiple instances of Graylog.
-
Public Notifications: Add custom notifications about maintenance windows or other important information for all users.
Each customization option is described in the following sections.
Update Color Theme
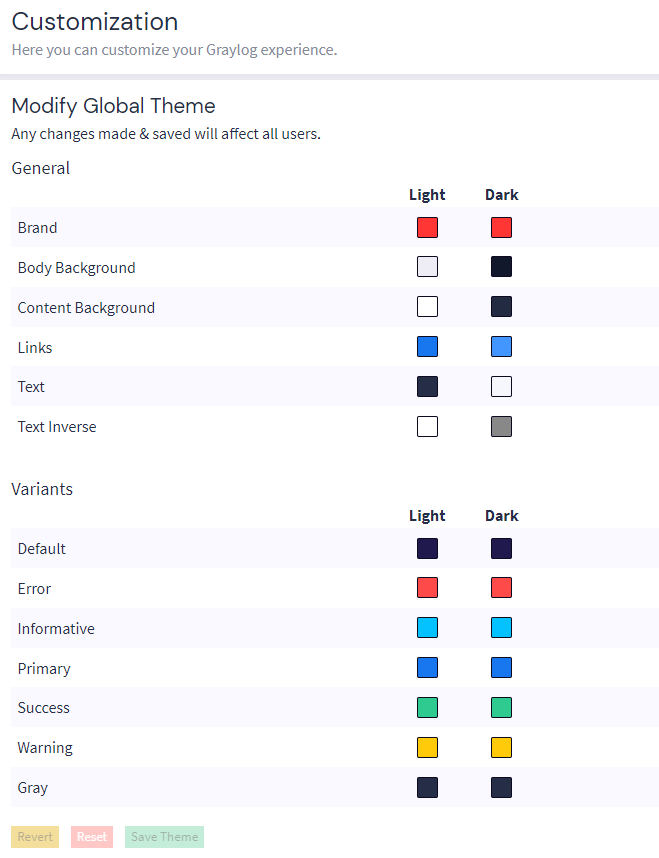
Use the Modify Global Theme section to update color schemes across the Graylog web interface if you want to match your company branding or meet other specific requirements. You can pick custom colors for elements such as text, buttons, alert banners, and backgrounds. Note that for each element, you set light mode and dark mode colors separately.
To create a color theme:
-
Click a color square for an element you want to update.
-
Select one of the predefined colors, or enter a Hex or RGB color value.
-
Click Save Theme to save your selections.
Before you save, you can click Reset to remove all custom colors applied and start over. After you save, you can click Revert to return to the default color scheme provided by Graylog.
Add a Header Badge
You can add a header icon to distinguish between different instances of Graylog. For instance, if you run separate test and production instances, or even multiple production instances that serve different purposes, the header badge can show at a glance which instance you are logged in to, both with text and a different color badge.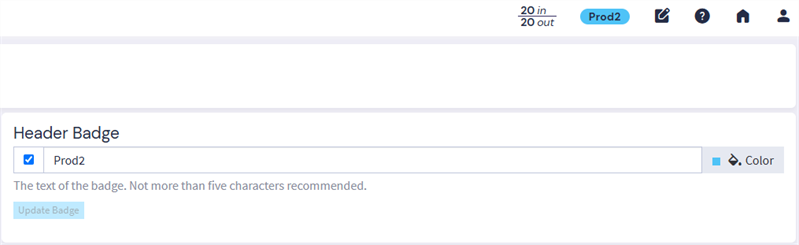
To create a header badge:
-
Enter text in the field to identify your Graylog instance. (optional) This field has a limit of 5 characters!
-
Select a color from the color picker.
-
Select the check box to enable the badge, then click Update Badge.
The badge appears on the right side of the header.
Add Public Notifications
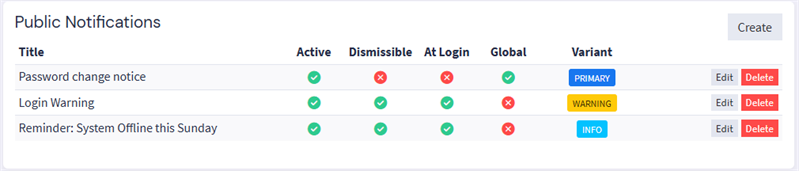
Custom notifications allow you to notify your Graylog users of planned downtime, provide a warning message on the log-in screen for compliance reasons, or other issues defined by your business use cases.
To create a custom notification:
-
Click Create.
-
Enter notification text in the Title and Short Message fields. Both fields are required, but if you need only a one-line message, select the Hide Title check box, and use the Short Message field for your notification.
When you have text in both fields, the Example section at the bottom displays an example of your notification in progress. This area is a live preview that continues to update as you make additional choices.
-
Enter additional information in the Read More Message field. (optional) Use this field to include a longer informative message. A Read More link appears on the notification banner, and the full text displays when users click the link.
-
Choose options from the Behavior box:
-
Dismissible: Users can dismiss the notification by clicking the X.
-
Visible At Login: The notification appears on the login screen.
-
Visible Globally: The notification appears at the top of every page in the web interface.
-
-
Choose the Color Variant for the notification banner from the drop-down menu. Note that the color choices on this menu are linked to the Variants list in the Modify Global Theme section. If you change any of the colors there, that change is applied to any color selected here as well.
-
Click Create notification.
The new notification displays in the list, showing the options selected. Note that you can edit or delete existing notifications here as well.
Further Reading
Explore the following additional resources and recommended readings to expand your knowledge on related topics:
