OIDC Authentication
Graylog supports generic OpenID Connect (OIDC) authentication, ensuring that your on-premises Graylog login can be managed with a variety of OIDC-compliant identity providers.
Prerequisites
Before proceeding, ensure that the following prerequisites are met:
-
You must be a Graylog administrator to implement OIDC authentication.
-
Graylog extracts user information from either the
ID tokenor theUserInfoendpoints and requires the following claims:preferred_usernameoremail. -
Required parameters for OIDC providers include:
-
openid -
profile -
email
-
Graylog Supported Identity Providers
These providers have been tested successfully for OIDC configuration with Graylog. However, you are encouraged to explore authentication with any OIDC-compliant provider that best fits your needs and environment.
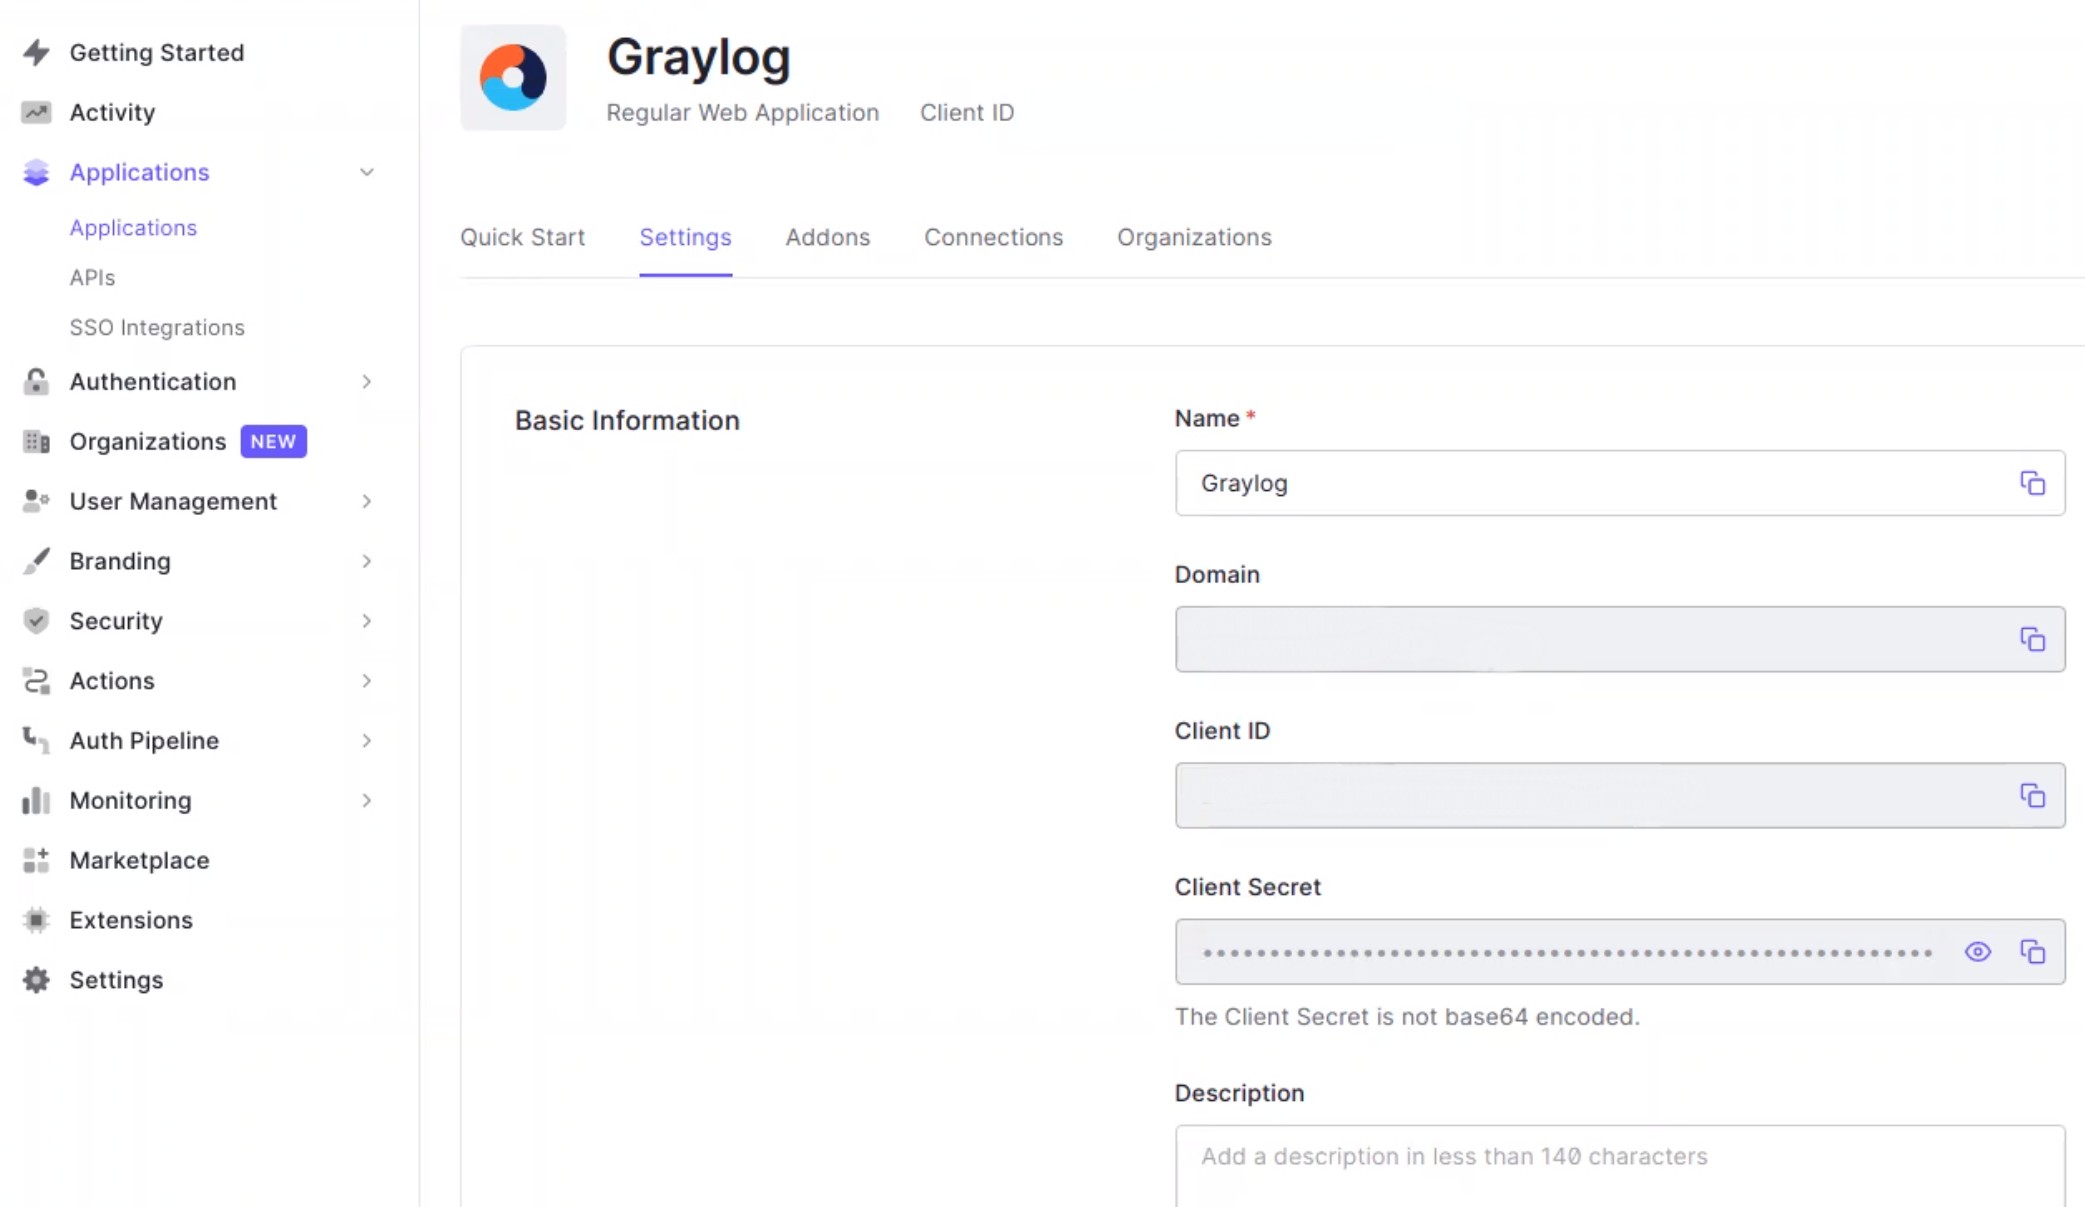
Authentication Credentials
When creating or editing an authentication service, you are required to enter your authentication credentials on the Authentication Services page in the Graylog web interface. You must obtain these credentials from your identity provider. Navigation of each provider’s application is different, so be sure to verify the documentation for your specific identity provider.
Additionally, you might need to configure certain properties on your identity provider, such as Google and Microsoft Entra ID.
Configure OIDC Authentication
In the following use case, we guide you through the configuration of an OIDC service with Auth0.
-
Log in to your Auth0 dashboard.
-
Follow Auth0 documentation to create an application for Graylog.
Hint: If you have multiple Graylog instances, you must create separate applications in Auth0 for each Graylog instance. - Select this application in Auth0 to view your client credentials. You need these credentials to configure your OIDC service in Graylog.
- In Graylog, navigate to System > Authentication, then click Create service.
- Select OIDC from the drop-down menu, then click Get started.
- Fill out the following fields in the form:
Field Description Title
Enter a title for the login screen when your users sign in to Graylog via your single sign-on (SSO) protocol.
Description
(optional) Provide a general description of the identity provider selected.
OIDC base URL
The base URL of your OIDC environment from the credentials provided by Auth0.
Callback URL
The OIDC callback URL is generated by Graylog beneath this field. In most cases, you can copy this suggested URL.
Client ID and Client Secret
Enter these values, which are provided in the Auth0 application.
Token Verifier Connect Timeout
Determine the time interval in seconds until connection resets. We recommend the default value of
10for this field.Default Role
Set the Graylog user roles you want to delegate through this synchronization. Any roles you include are assigned to all synchronized users.
The default role populates as Reader, which is the basic level of access needed for most Graylog users and is therefore the recommended selection.
Default User Time Zone
Choose the default time zone for new users.
-
Click Test Server Connection to validate the configuration. This test allows Graylog to perform a basic consistency and connectivity check of the configuration. Any errors detected are noted in the UI and must be resolved in order to proceed.
-
Click Finish & Save Service to complete the configuration steps and return to the All Authentication Services page. Or, optionally, click Next: Group Synchronization if you intend to use the groups feature.
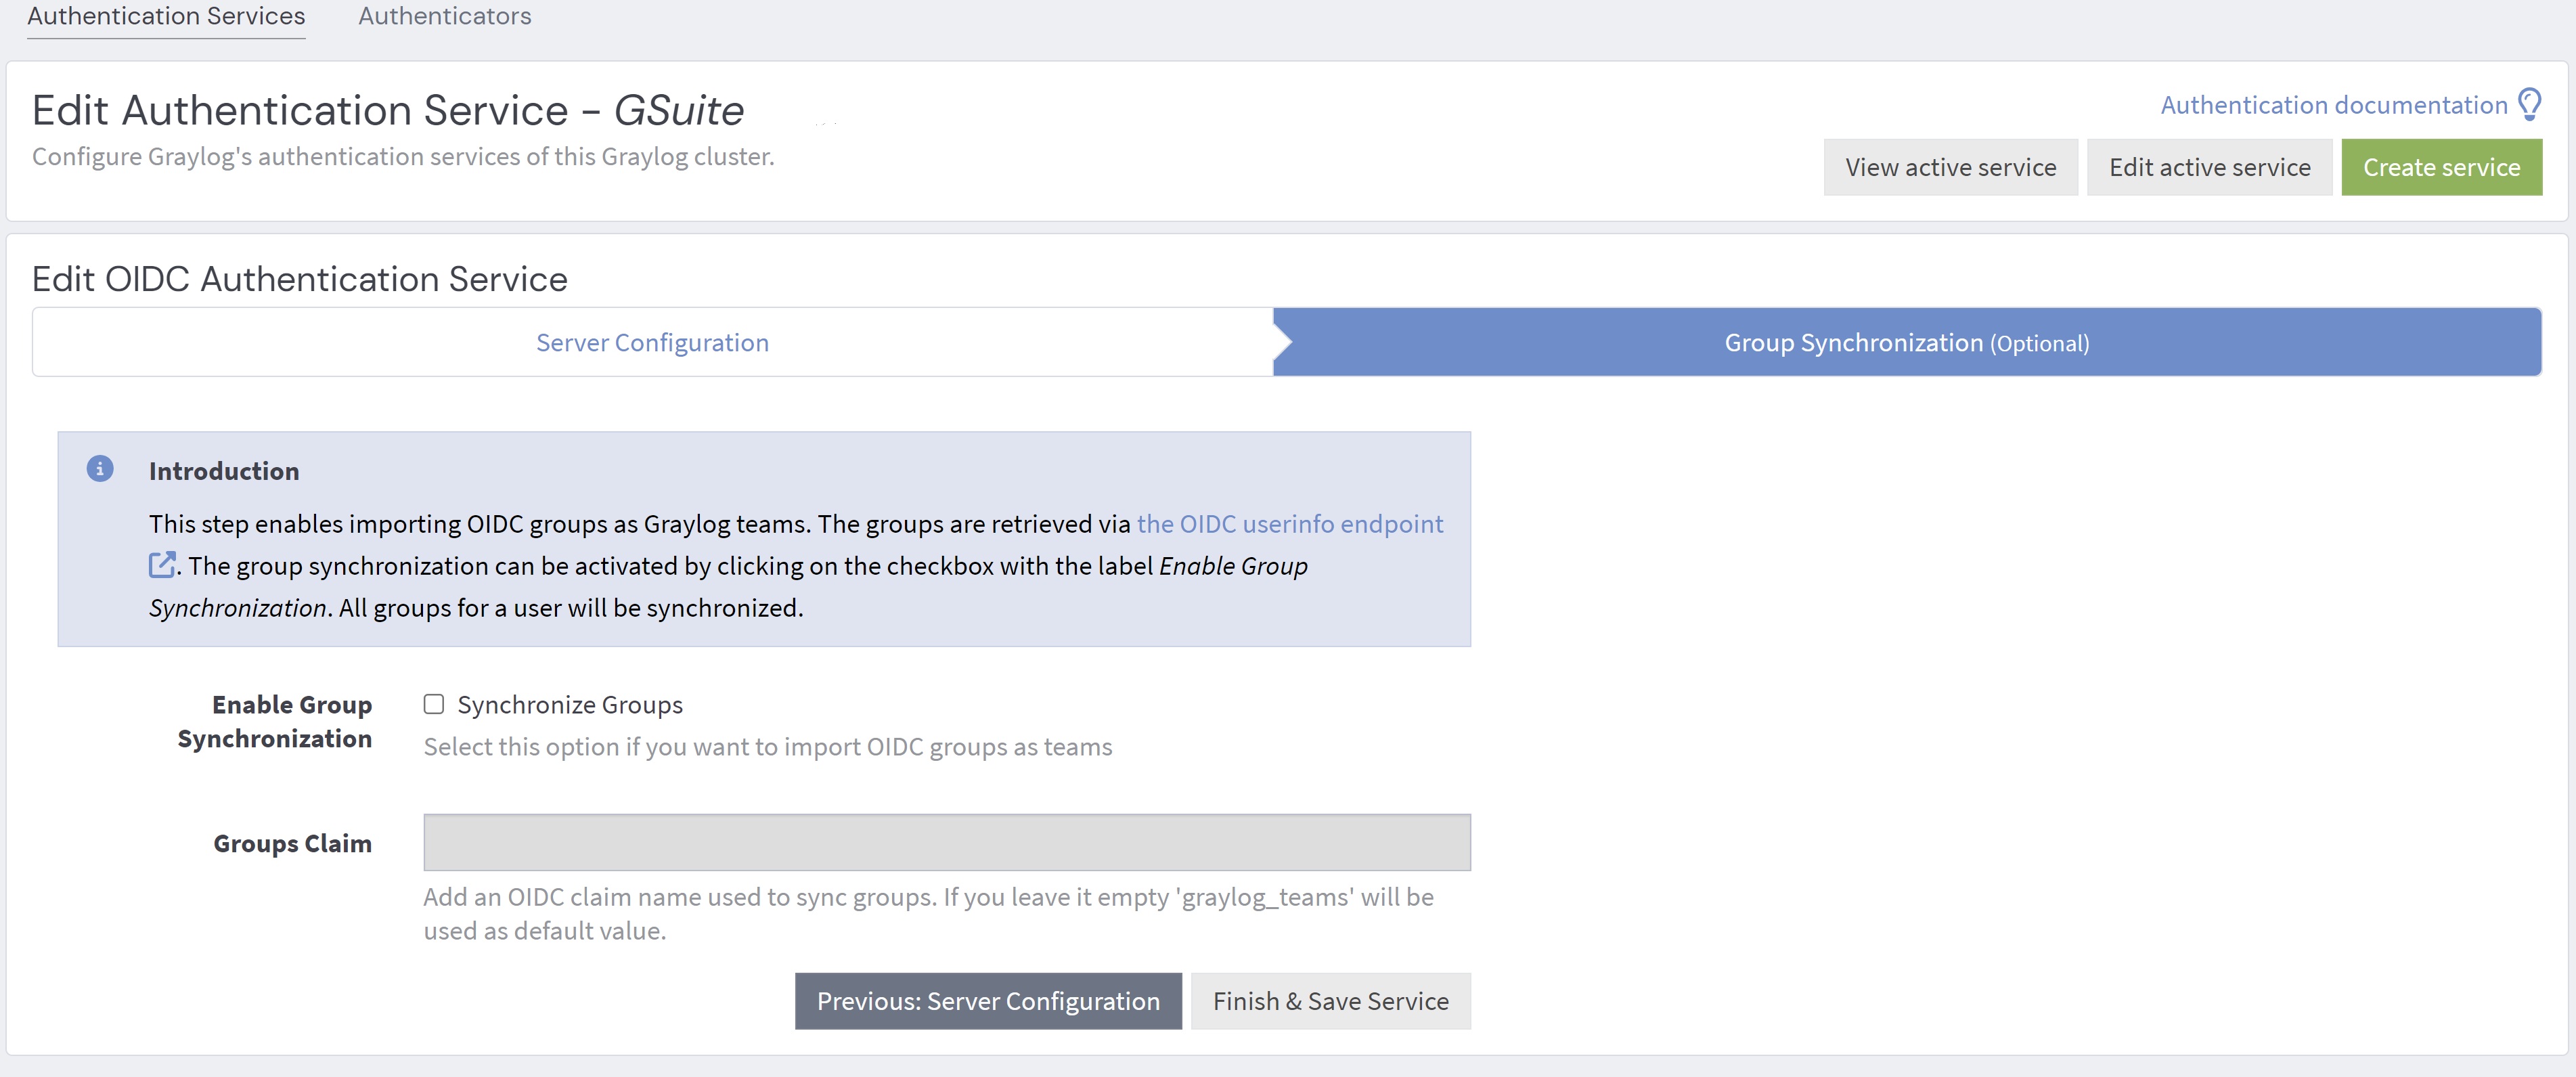
Group Synchronization
In addition to individual users, OIDC integration can be used to synchronize groups from OIDC-compliant identity providers to Graylog teams. You enable group synchronization in the configuration menu after the initial steps completed above.
You can complete the following steps directly after the section above. Or, to add group synchronization to an existing authentication service, click Edit in the Actions column for the service on the All Authentication Services page.
Hint: To use this feature, you must first complete configuration on the identity provider interface by configuring an ID token. The configuration process is different for each provider, so be sure to check your provider's documentation. You can see an example for Entra ID below.
To configure group synchronization in Graylog:
-
On the Group Synchronization tab, select the Synchronize Groups check box.
-
Add an OIDC claim name used to sync groups. If you leave this field empty,
graylog_teamsis used as the default value. -
Select Finish & Save Service.
Activation and Sign In
After you configure the service, activate your current service provider to enable the authentication protocol.
-
Click the Authentication Services tab to return to the All Authentication Services page.
-
Click Activate in the Actions column for the service you want to activate.
If you change identity providers or need to update your settings, be sure to activate the new service from this menu.

After you set up your identity provider authentication, Graylog presents a new sign in page when you start a new Graylog session. To view this screen:
- Log out of Graylog. A sign in page appears indicating the active authentication service.
- Sign in to Graylog with your identity provider credentials.
Set the Google hd Claim Authentication Parameter
If you use OIDC with Google, you can restrict access to only members of your G Suite domain by adding an hd claim that matches your G Suite domain name.
To set this authentication parameter:
- Navigate to the System > Authentication page in the Graylog web interface, then select Edit next to your Google authentication service.
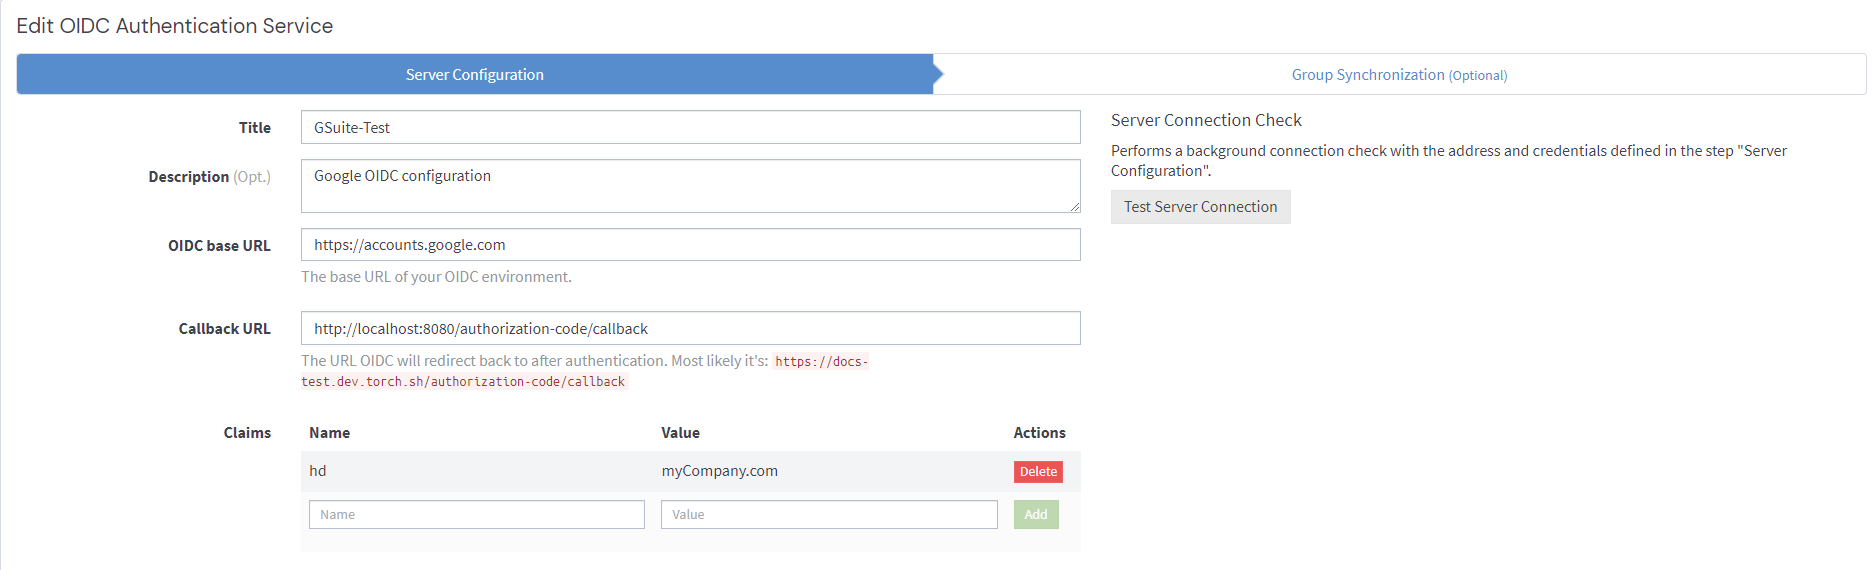
- In the Claims section, add the
hdclaim under Name and provide your organization's domain name in the Value field. - Select Add.
- Click Finish & Save Service.
For more information regarding the hd claim in Google Identity, see the related Google documentation.
Configure the ID Token for Entra ID
If you use Microsoft Entra ID as an identity provider, you need to customize the information returned by Entra ID during authentication and authorization. Your user email must be included in the ID token to establish a successful connection with Graylog. Follow the steps below to set up the integration:
-
Log in to your Microsoft Entra admin center.
-
Navigate to Entra ID > App registrations, then register or select your application for Graylog.
-
Click Manage in the left sidebar, then select Token configuration.
-
Click Add optional claim.
-
Select ID as the token type.
-
Scroll through the claims list and select email.
-
Click Add.
- In the Graylog interface, navigate to System >Authentication.
- Click Create service.
- Select OIDC as the service in the dropdown, then click Get started.
- Use the credentials from your Entra ID account to fill in the fields and make your selections.
See the related Microsoft documentation for further information on Entra ID integration.
Further Reading
Explore the following additional resources and recommended readings to expand your knowledge on related topics:
