With Graylog 5.0, Illuminate Lookup Tables can be used from within core Graylog processing. This means that users running Illuminate can now use Illuminate Lookup Tables in their own pipelines.
All Illuminate Lookup Tables, Data Adapters, and Caches are read-only and can be seen by navigating to System/Lookup Tables > Lookup Tables.
Overview
When Illuminate processing packs are installed or activated, Graylog automatically handles the creation of required streams, index sets, and the installation of new Elastic templates.
Your selected processing packs automatically apply to matching messages, and you will no longer see Illuminate processing pipelines and rules on the Pipeline Management page.
Prerequisites
To begin installation and use the processing tool, follow the instructions below.
- Upgrade to Graylog 4.2 with Illuminate if running an earlier version.
- Remove old processing pipelines and rules found in the Processing Pipelines chapter.
- Remove all unnecessary content packs, as outlined in Delete Packs.
Installation
To begin the installation of new Illuminate processing packs, follow these steps:
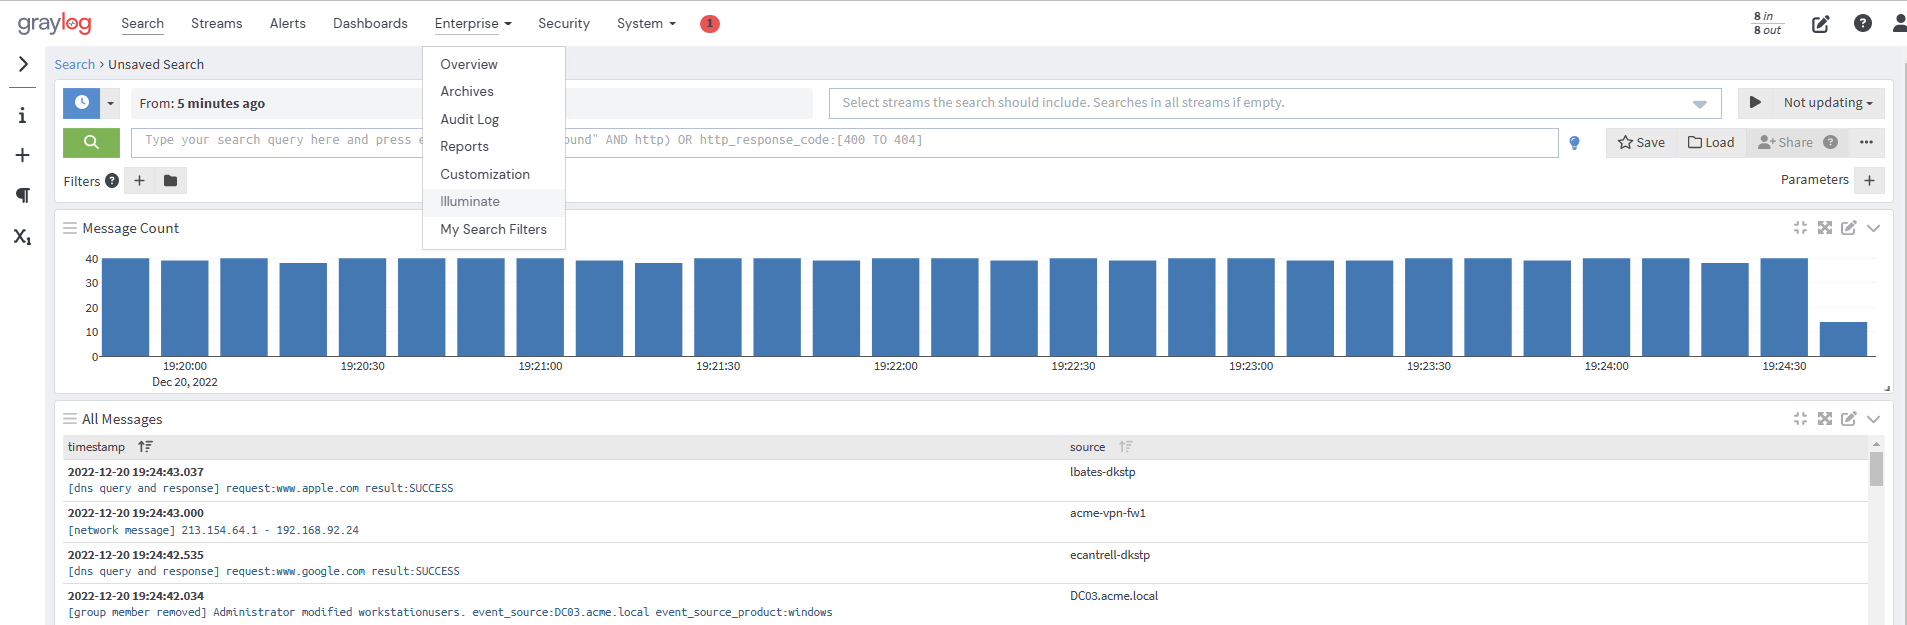
- Locate and click the Illuminate submenu under Operations in the main Graylog navigation bar.
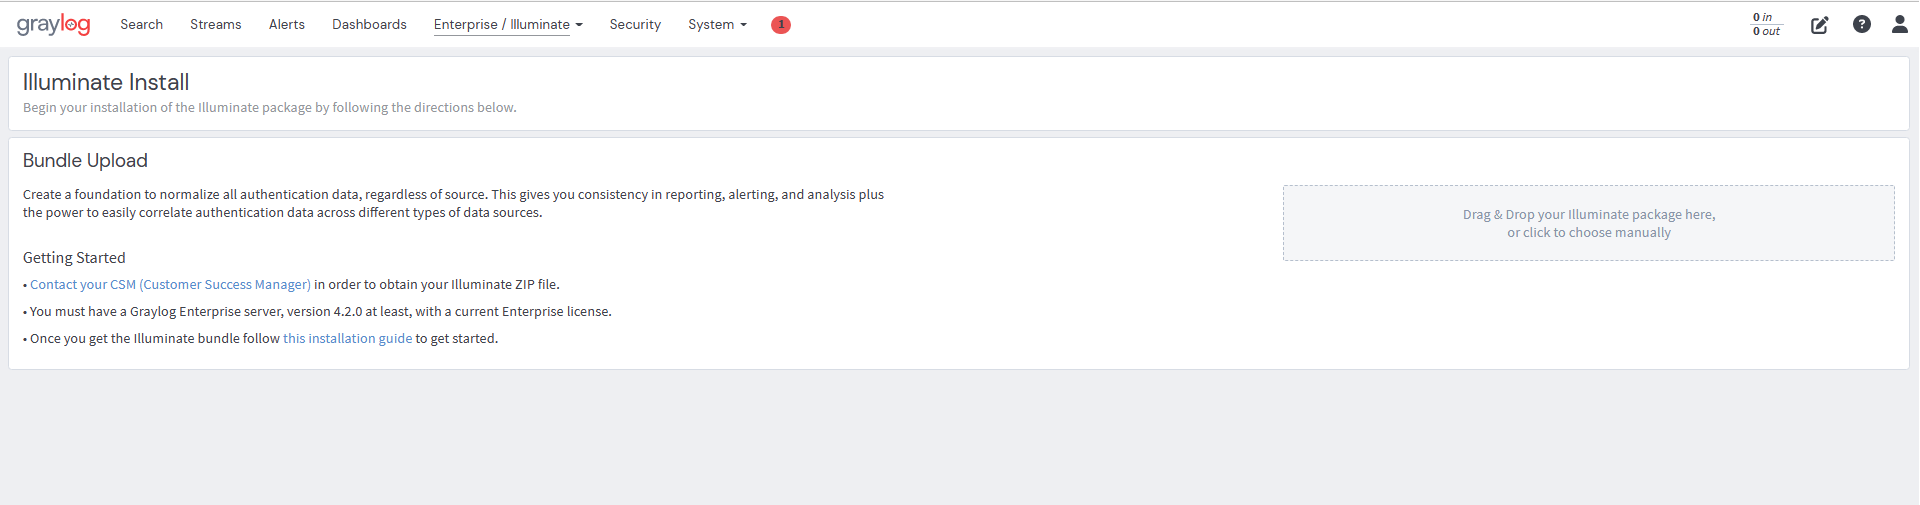
- On the Illuminate Install page, you can either:
- Drag-and-drop your Illuminate ZIP file directly onto the page, or
- Click the rectangular help text box, which prompts a file picker to help you locate the ZIP file on your file system.
Select and Enable Packs
Select Packs
Once Graylog has processed the uploaded file, select your desired packs. You can either:
-
.Click the empty checkbox labeled 0 selected in the top shaded cell. Or,

- Click the checkboxes corresponding to an individual pack.
Enable Packs
Next, activate the processing packs. Select at least one pack, and enable the selected pack(s) with the following steps:
- Click the Enable Selected button.
- Click the Confirm button on the Enabling Illuminate Pack modal.
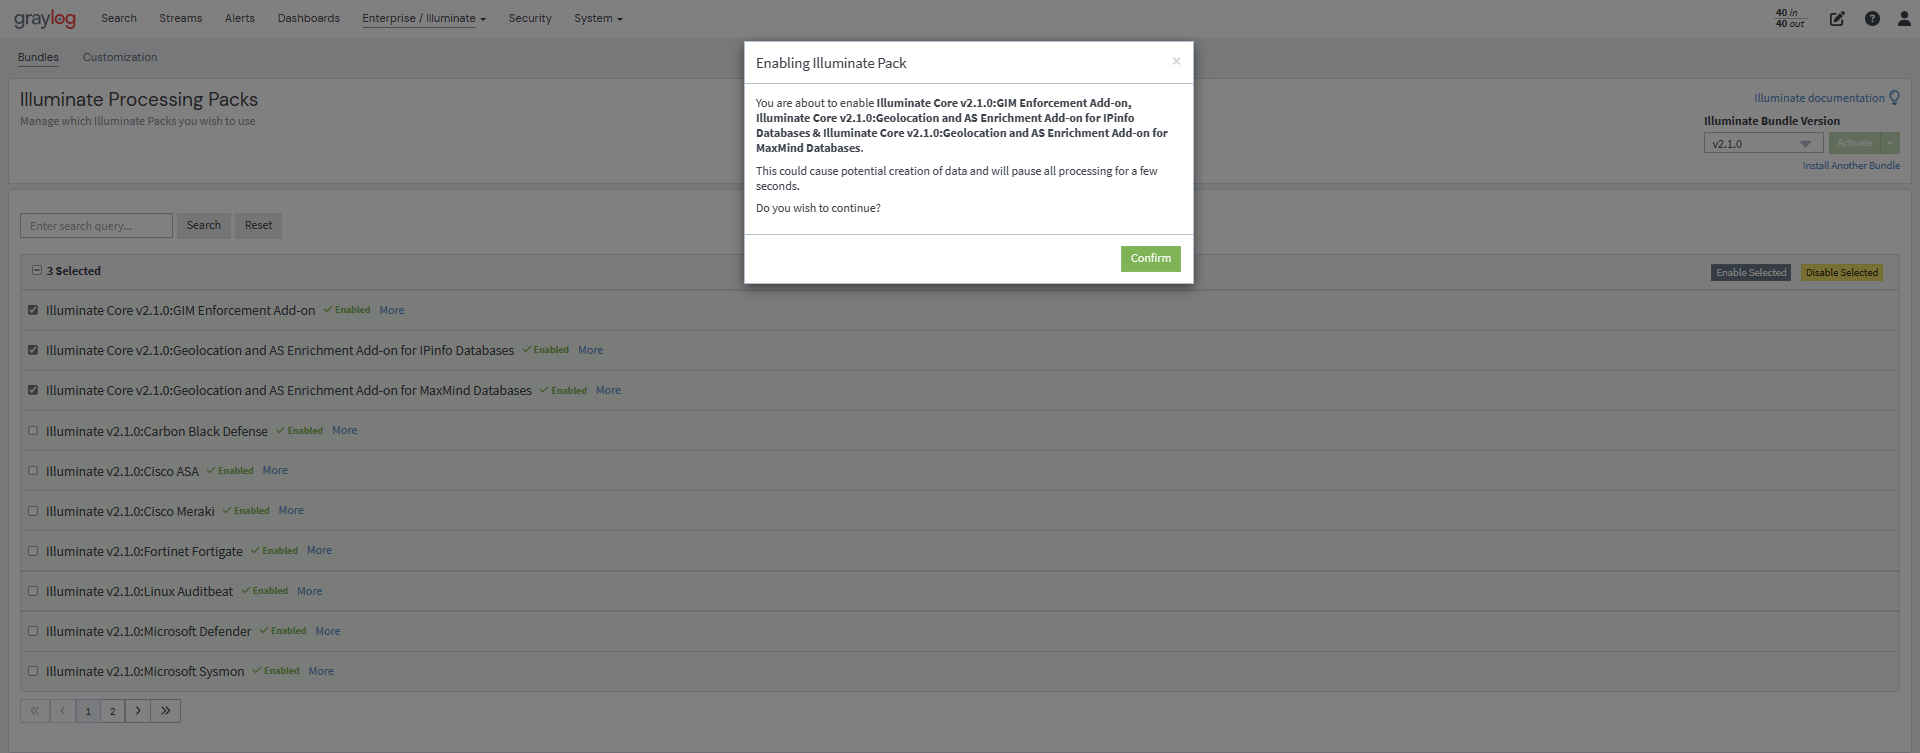
The cell representing the enabled pack will turn to a light green color, pictured below.

Disable Packs
Conversely, you can disable processing packs. To disable processing packs, follow the instructions below.
- Click a checkbox for the respective pack or check the box in the top gray-shaded cell to select all.
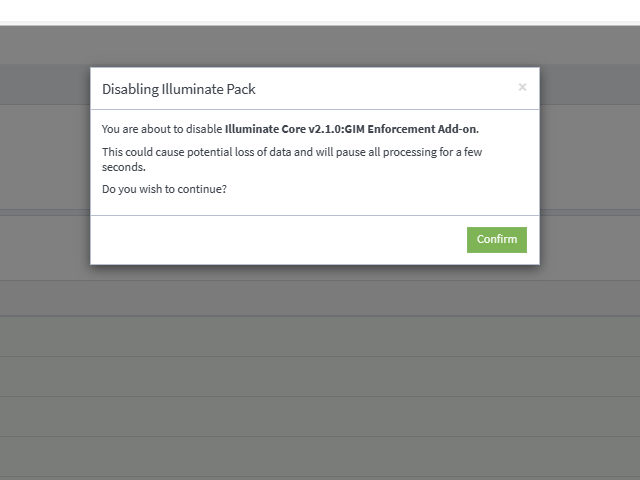
- Click the Disable Selected button.
- Click Confirm to verify the individual or list of packs presented in the Disabling Illuminate Pack modal.
Delete Packs
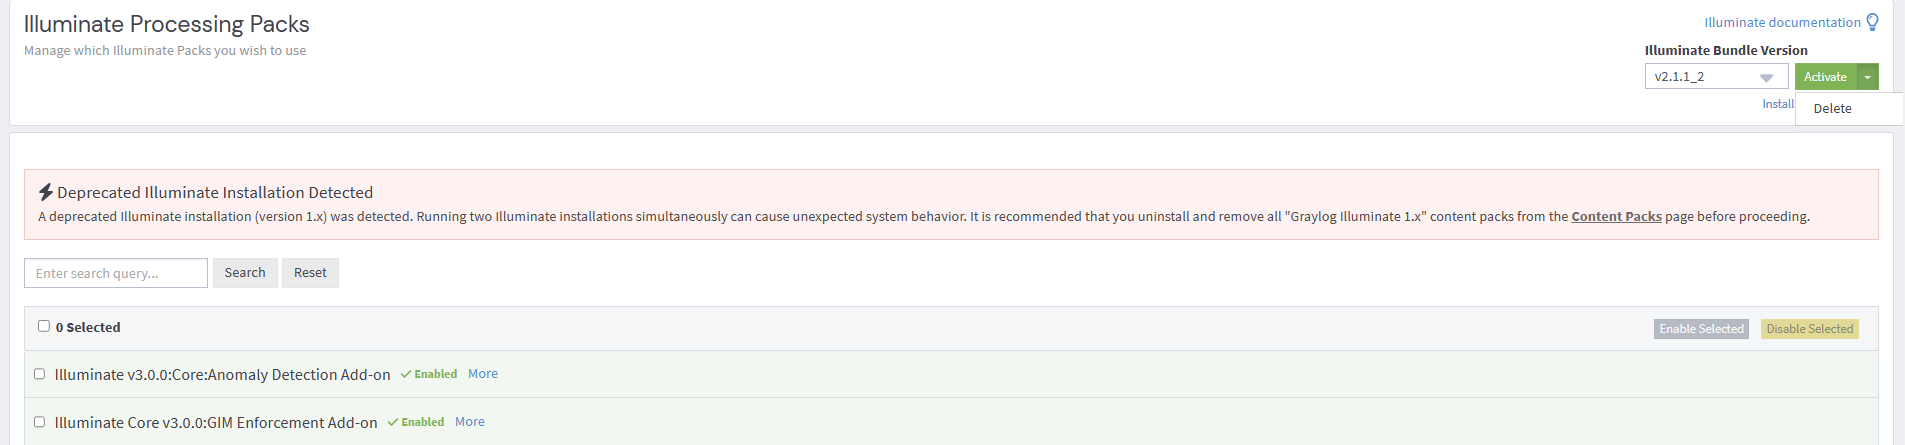
To delete non-active Illuminate bundles, follow the instructions below.
- Select the individual or list of undesired packs.
- Click the disclose arrow on the right of the Activate button.
- Click Delete to remove the selected pack.
- Choose Confirm to complete the deletion process.

Lookup Table Customization
Illuminate is equipped with lists of pre-defined data (lookup tables) that include content, such as important hostnames, accounts, and usernames. The data is comprised of a key column with a corresponding column of values.
In the UI, you can change or override default tables shipped with Illuminate. In addition, you can add data to the desired table(s).
Using msdefender-severity-map-adapter as an example, modify or edit these tables with the instructions below:
- Navigate to the "Illuminate" screen from the Operations menu item.
- Click the Customization button; this takes you to a screen titled Illuminate Customization.
- Identify your desired lookup table by Title to modify, e.g. msdefender-severity-map-adapter.
- Click the corresponding Edit button under the Actions column; this generates a modal called *Custom Values for msdefender-severity-map-adapter.
- Add values to both Key and Value fields.
- Click the green and white + button to add more key-value data (optional).
- Click the red and white trash can button to remove each value (optional).
Additional Information
To upload future versions of Illuminate, click on the Install Another Bundle link. When multiple Illuminate versions are installed, you can use the dropdown version menu to switch between versions.